
I have taken my stab at the ever popular pumpkin cookie that has come to be a fall staple. Anything pumpkin spiced seems to be a hit at this time of year, and a cookie is no exception! I looked at many different cookie recipes on Pinterest and throughout the web, and mixed and matched to make my own version. This cookie is very customizable - I used chocolate chips and walnuts, but you could add pretty much anything. I think next time I will add some raisins or craisins, and maybe some sunflower seeds. Without further ado, here is the recipe!

Pumpkin Monster Cookies


2 & 1/2 cups all purpose flour
1 & 1/2 cups quick oats (not regular or steel cut)
3/4 tsp salt
1 tsp baking soda
1/2 tsp pumpkin pie spice
Dash nutmeg
Dash Cinnamon
1 cup butter, softened
2/3 cup granulated sugar
1 & 1/3 cups brown sugar (packed)
1 large egg
1 & 1/4 cup pumpkin puree
1 tsp vanilla
1 & 1/2 cups chocolate chips (optional)
3/4 cup walnuts (optional)
Note: This is just what I used today. Add anything else you may like - Sunflower seeds, raisins, dried fruit, white chocolate, whatever your heart desires!
Step 1: Preheat oven to 350 degrees Fahrenheit. Mix the flour, oats, salt, baking soda, and spices together. I use a container with a lid and shake them all up to mix, but you could use a bowl and spoon as well. I used pumpkin pie spice with an extra dash or two of cinnamon and nutmeg as a personal preference.
Step 2: In a seperate bowl, cream the butter and granulated sugar and brown sugar. I cut my butter into cubes to make the mixing easier. I use a kitchenaid hand mixer, but a stand mixer will work as well. Add the egg, vanilla, and pumpkin puree and mix.
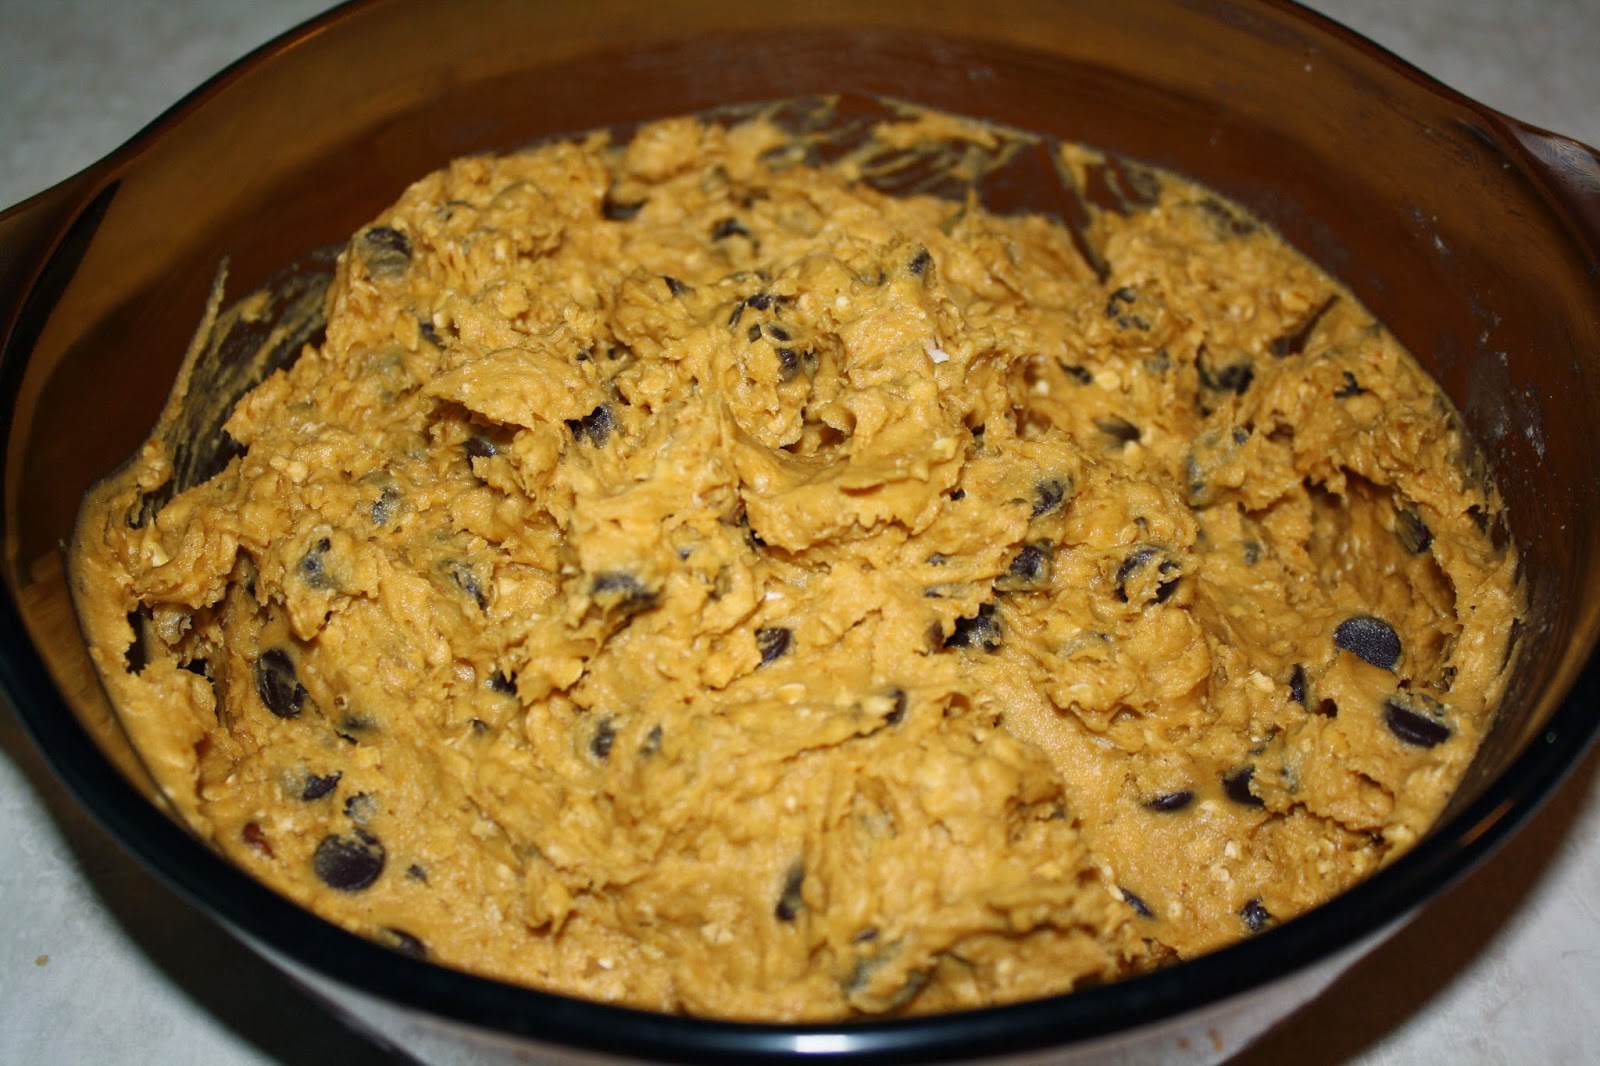
Step 3: Mix your dry ingredients into the wet mixture. I add about half at a time to make it easier. Stir together until completely mixed. At this point, add whatever additional ingredients you would like to make your monster cookies. Above are the measurements I used for chocolate and nuts, but you could use anything you like! The dough will be thick, but not too sticky.
Step 4: Spoon medium sized spoonfuls of dough onto a cookie sheet. I use a silicone sheet liner that I purchased at Target that I find help my cookies not to burn. Its been a great investment! You could use a cookie scoop for more evenly shaped cookies, but I kind of like them all mismatched.
Step 5: Bake cookies for approximetnlyy 11-12 minutes. Time may vary based on oven. I removed my cookies from the cookie sheet immediately and transfered them to a cooling rack.
Step 6: ENJOY! I ate mine with a nice cold glass of milk, and it was the perfect combination!
I hope you love these cookies as much as I do. If you try the recipe be sure to tweet me pictures at @thedowntime so I can see your creations!


No comments:
Post a Comment